Android App Setup
Compile, configure, and publish your native Kotlin Android application to the Google Play Store.
App Feature & Screen Overview
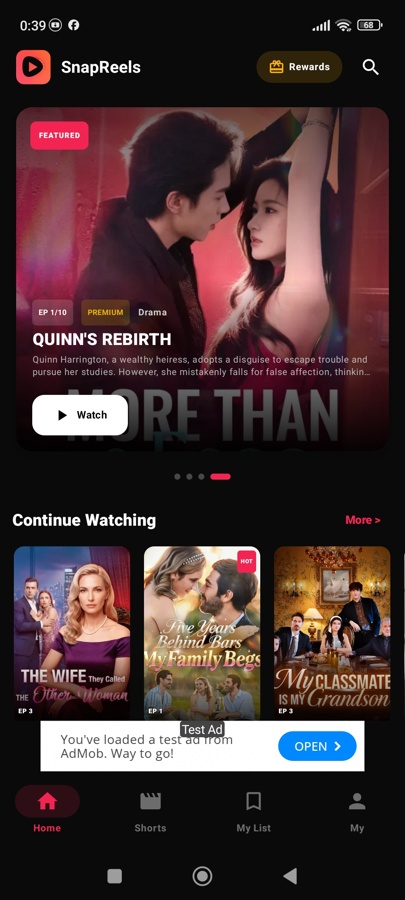
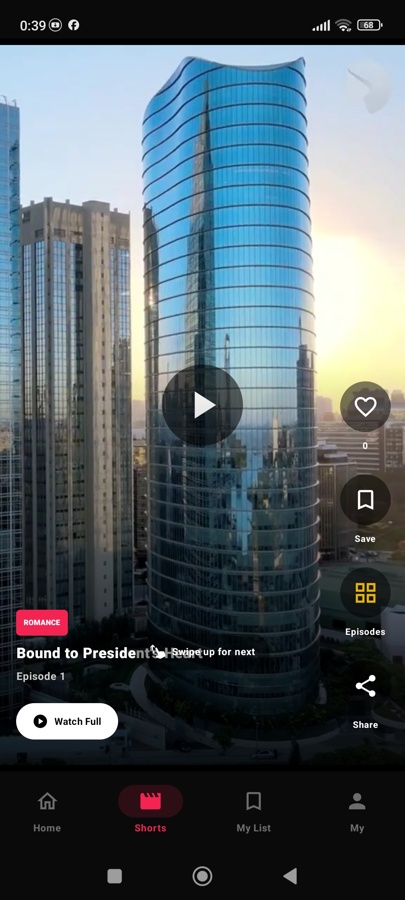
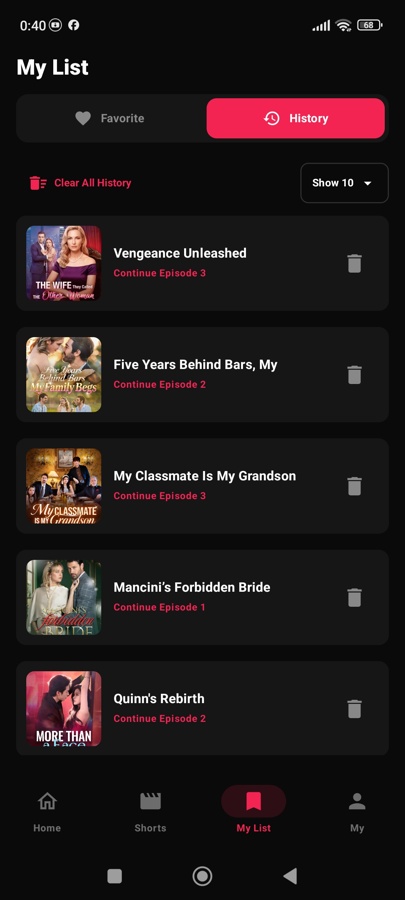
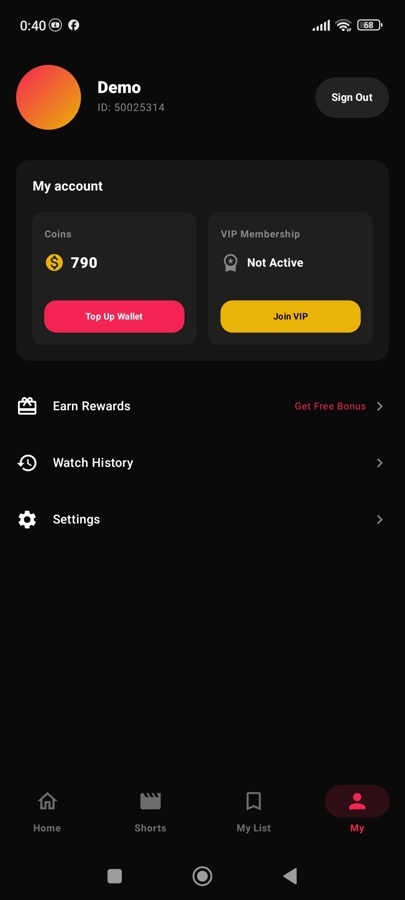
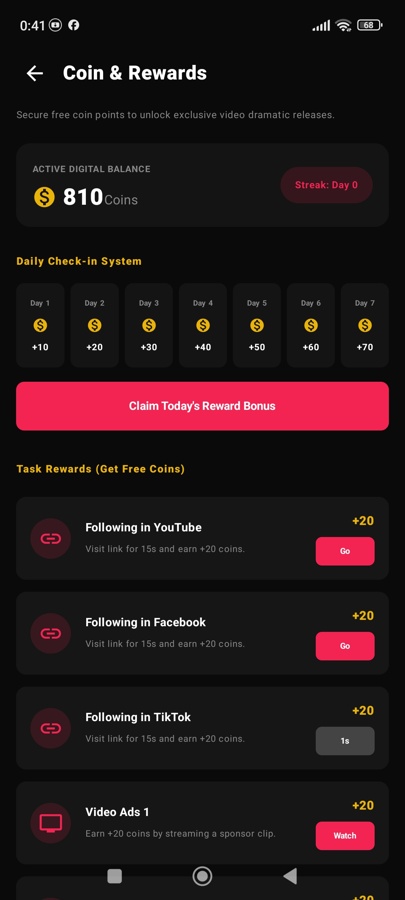
Before you begin the technical setup, here is a visual overview of the SnapReels Android Application.
Architecture Overview (For Developers)
The Android Application is built entirely in Kotlin and utilizes modern Jetpack Compose for UI rendering.
- Architecture: MVVM (Model-View-ViewModel) enforcing strict separation of concerns.
- Networking: Retrofit2 with OkHttp for optimized REST API communication.
- Dependency Injection: Hilt / Dagger for managing scoped dependencies and ViewModels.
- Media: Google Media3 (ExoPlayer) with VideoCacheManager for disk-backed pre-buffering.
- Navigation: Jetpack Navigation Compose with deep link support.
- Storage: DataStore (Preferences) for async key-value persistence.
Change the Application Logo
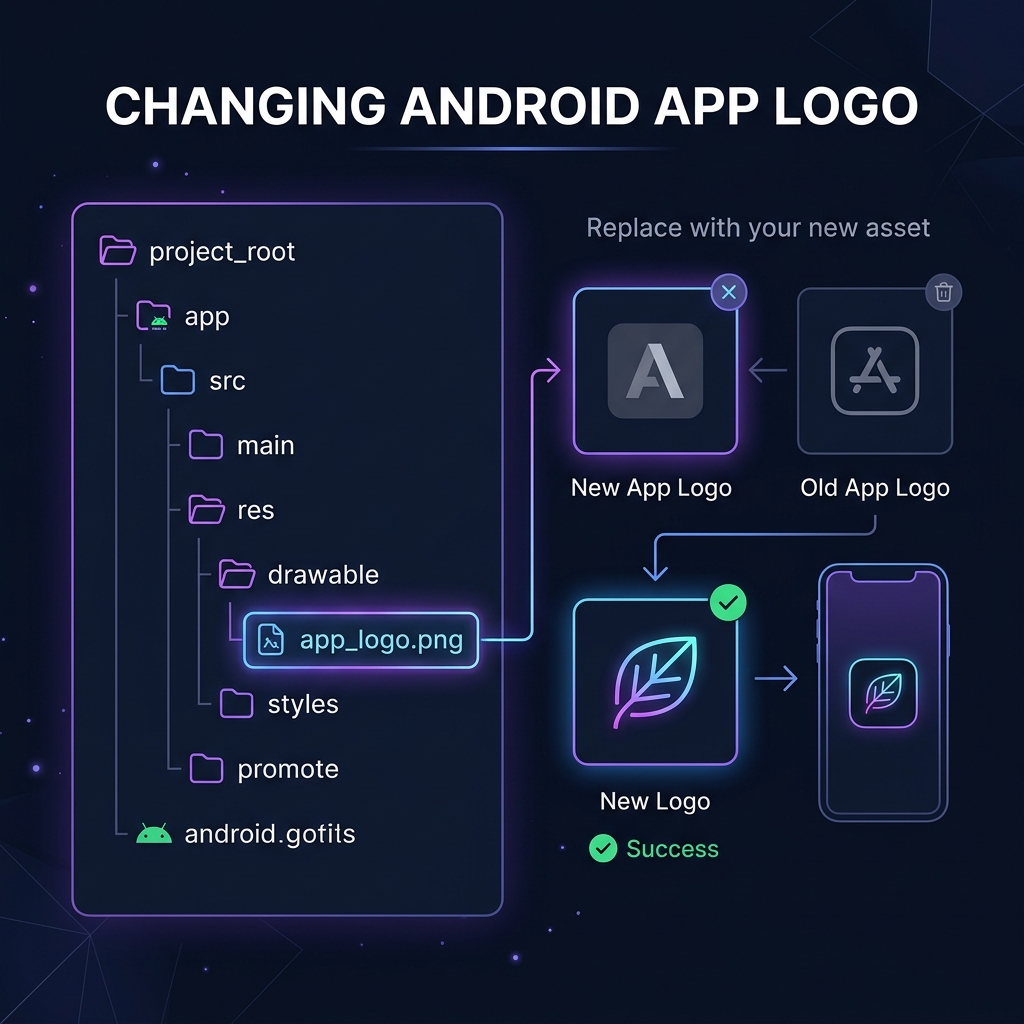
To replace the default launcher icon and visual branding logo inside the app:
- Design a custom square logo (PNG format, recommended size
512x512px). - Rename the file to
app_logo.png. - Paste and overwrite the logo file inside the directory:
Android App/app/src/main/res/drawable/app_logo.png - The app main manifest automatically links to this resource using standard tags:
android:icon="@drawable/app_logo"
Change Package Name (Application ID)
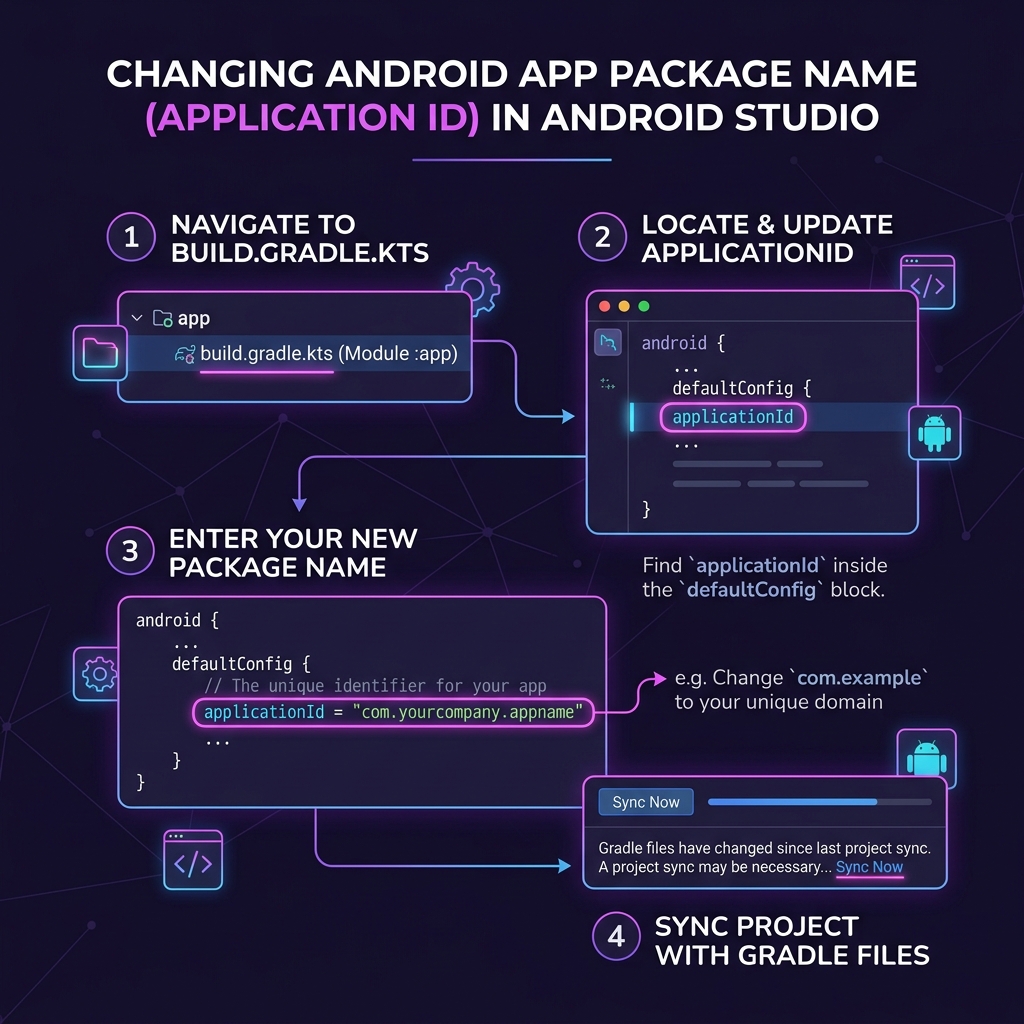
The Application ID acts as the unique identifier for your app on the Google Play Store. It is configured in the application-level Gradle settings:
- Open the file:
Android App/app/build.gradle.kts - Locate the
applicationIdline insidedefaultConfig:
3. Update the package name string to your custom store package ID (e.g. "com.yourname.snapreels").
4. To refactor package structures inside Android Studio: Select target Java packages directory folders, right click and choose Refactor -> Rename -> Rename Package.
Configure Firebase Console & Setup file
To enable authentication, login mechanisms, and notifications, you must link Firebase Services:
- Go to the Firebase Console and add a new Android Project.
- Enter the exact package name (Application ID) configured in Step 2.
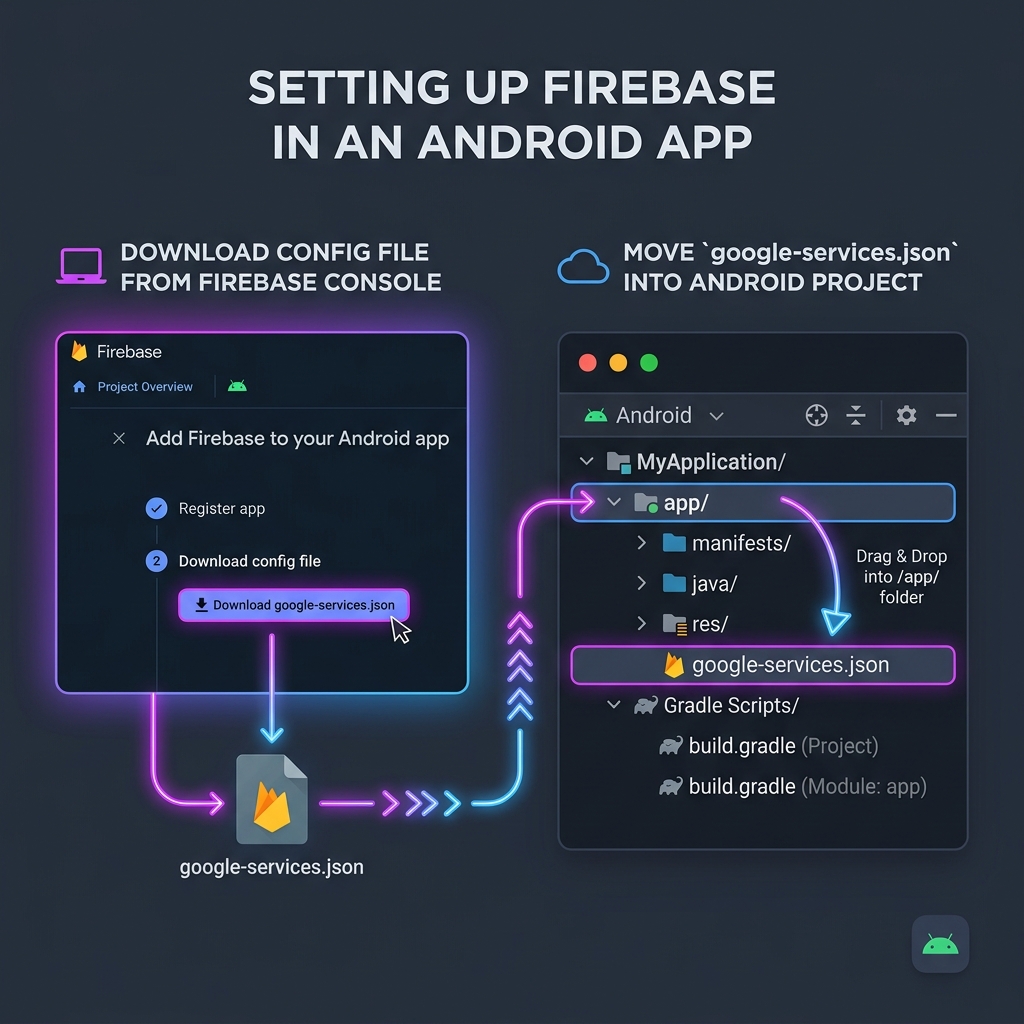
- Register the app and download the configuration file:
google-services.json. - Drag and paste the downloaded file directly inside your app folder:
Android App/app/google-services.json
Configure API URL & Security Keys
The Android app interacts securely with your SnapReels web server via REST API endpoints. You must configure your server domain and unique API security key:
- Log in to your SnapReels Admin Dashboard (e.g.
https://yourdomain.com/admin). - In the left sidebar menu, click on Settings (⚙️).
- Select the Mobile App tab at the top.
- Scroll down to the API Connection card:
- API Base URL: Copy the full endpoint URL displayed (e.g.,
https://yourdomain.com/api/mobile/v1). - API Access Key: Copy your secret API key. You can also click the 🔄 Generate button at any time to regenerate a new secure 256-bit API token.
- API Base URL: Copy the full endpoint URL displayed (e.g.,
- Keep this window open or copy the values to paste into your Android project.
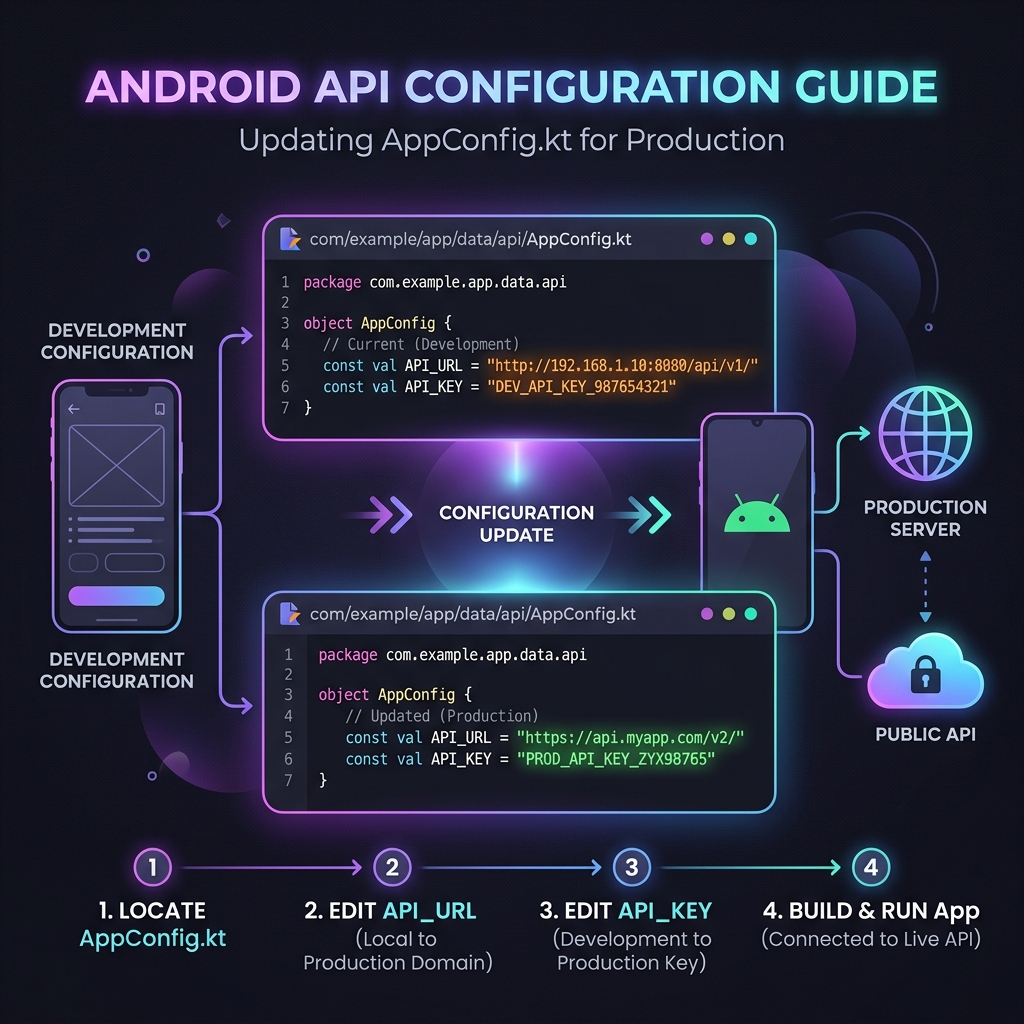
- In Android Studio, open the file:
Android App/app/src/main/java/com/example/data/AppConfig.kt - Replace the placeholder values with your actual server domain and API key:
Configure Google AdMob Ads
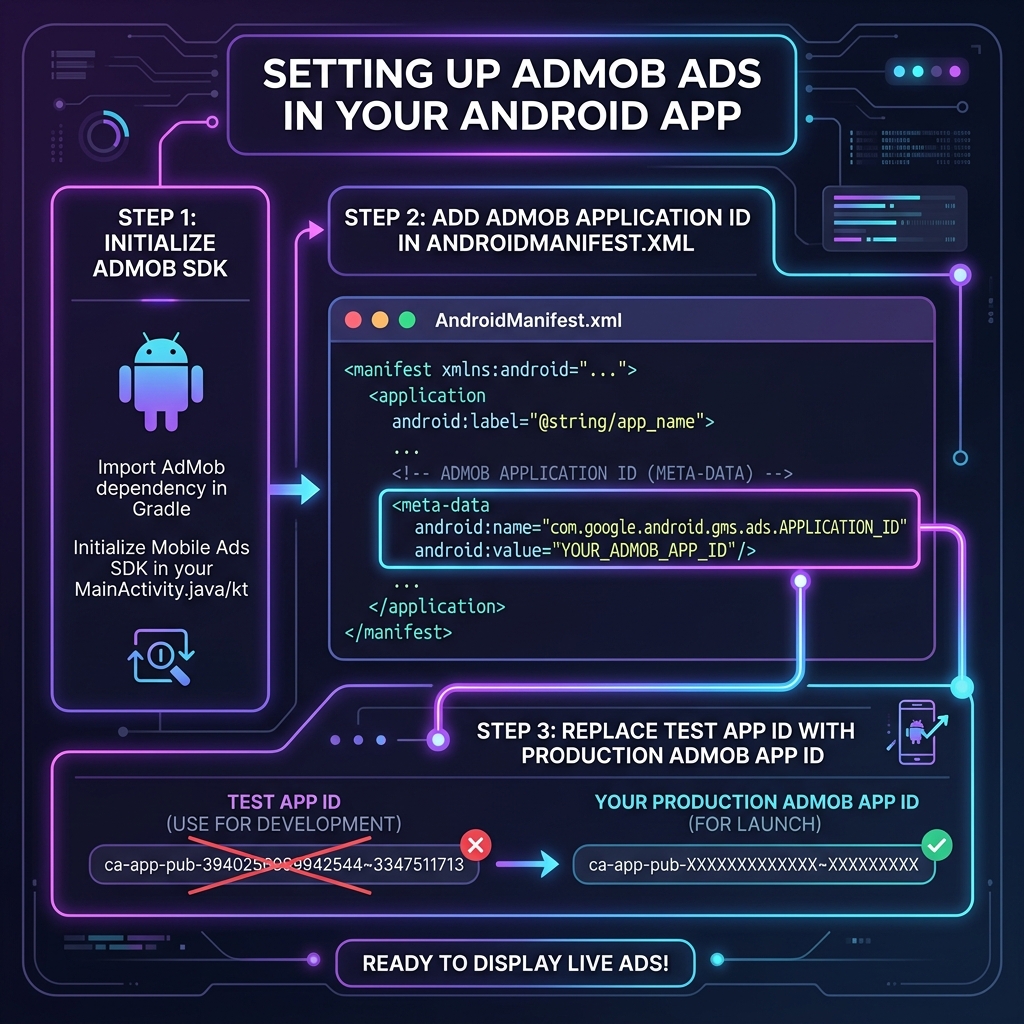
To display advertisements in your mobile app, configure your primary Google AdMob App ID inside the manifest properties:
- Open the file:
Android App/app/src/main/AndroidManifest.xml - Scroll down inside the
<application>element to locate the AdMob metadata tags:
3. Replace the test application ID value (ca-app-pub-3940256099942544~3347511713) with your live production AdMob Application ID.
Important Notice for Ad Units
Do not hardcode individual ad unit IDs (Banner, Reward, Interstitial) in the source code. You can configure them dynamically in the online Admin Panel under Mobile Application Settings once your server is live.
Generate Firebase SHA-1 Fingerprint
Google Sign-In requires your app's SHA-1 fingerprint registered in the Firebase Console. Without it, users will get a "Google Sign-In Failed" error.
- Open your project in Android Studio.
- Click on the Gradle tab on the far right edge of the IDE window.
- Expand
SnapReels -> app -> Tasks -> androidand double click on signingReport. - Look at the bottom Run console. Copy the
SHA1string (e.g.,5B:23:45:67:89...) under thedebugandreleasevariants. - Go to your Firebase Console -> Project Settings -> General. Scroll down to your Android app and click Add fingerprint. Paste the SHA-1 key and save.
Push Notification Setup (OneSignal)
SnapReels uses OneSignal to deliver real-time push notifications across both the Web platform and the native Android App seamlessly:
- Log in to your account at OneSignal.com and select or create your App.
- Go to Settings > Keys & IDs and copy your OneSignal App ID and REST API Key.
- In your SnapReels Admin Panel, navigate to Settings > Plugins.
- Paste your OneSignal App ID and REST API Key into the OneSignal configuration section and click Save Changes.
- In Android Studio, open
app/src/main/java/com/example/data/AppConfig.ktand set yourONESIGNAL_APP_ID. (The Android app also dynamically syncs the App ID from your Admin Panel automatically). - You can now broadcast push notifications to all Android and Web users directly from the Notification page (
/admin/notifications) in your Admin Panel!
Notification Permission (Android 13+)
When users launch the app for the first time, SnapReels automatically prompts them with the native Android notification permission dialog to ensure maximum subscriber delivery.
Visual Customization (Themes & Deep Links)
App Name & Strings
To change the name of the app shown on the user's home screen, open app/src/main/res/values/strings.xml and change app_name.
Color Theme
To change the primary colors, gradients, and backgrounds of the app, open app/src/main/java/com/example/ui/theme/Color.kt and modify the Hex codes (e.g., PrimaryPink, BackgroundDark).
Deep Links (Intent Filters)
To allow users to open web links directly inside your app (e.g., sharing a video), open app/src/main/AndroidManifest.xml. Locate the <intent-filter> under the MainActivity and replace snapreels.gadohost.com with your own domain name.
Generate Release Build for Play Store
Before submitting to Google Play, you must compile a signed Android App Bundle (.aab).
- In Android Studio, click on the top menu: Build -> Generate Signed Bundle / APK.
- Select Android App Bundle and click Next.
- Under Key store path, click Create new.... Choose a safe location on your computer to save your
.jksfile. - Fill in a strong password, an alias (e.g.,
release), and your certificate details. IMPORTANT: Never lose this keystore file or its passwords, otherwise you can never update your app on the Play Store again! - Click Next, select the release build variant, and click Finish.
- Android Studio will generate an
app-release.aabfile in yourapp/release/folder. Upload this file to your Google Play Console!